How to connect a router to another router to extend the Wi -Fi network
If you have reached this entrance, you will surely have thought about connecting one router to another router to extend the Wi -Fi network.There are currently more effective solutions such as well -known PLC.However, most of these usually have a rather high price for the advantages they offer.Fortunately, connect one router to another to improve the WiFi connection is possible, although we must configure a series of parameters to have Internet connection in both.Last week we show you all ways to know the WiFi password if we have lost or forgotten, and today we will teach you to do so in a few steps and in any router model.
Necessary elements to connect one router to another
Before starting to mount the wifi network extended, we must have a series of elements not only to extend the network in question, but also to have the Internet on both router.The necessary elements in this case are the following:
And that's it, we will only need these two elements.Obviously, and as we have mentioned at the beginning of the article, we will need to configure a series of parameters to establish the connection correctly, and which we will explain below.
Steps to connect two routers
The physical connection of both routers is the simplest step of the entire assembly process.To connect both routers in series, it is enough to enter the Ethernet cable in the yellow lan slot of the router that has an internet connection (if there is any connected cable it is recommended to pass this to the slot 2 or 3) and enter the other end of the cableIn the same slot 1 of the router we want to supply the Internet.
The Ethernet cable must be entered in the LAN 1 slot of both routers.

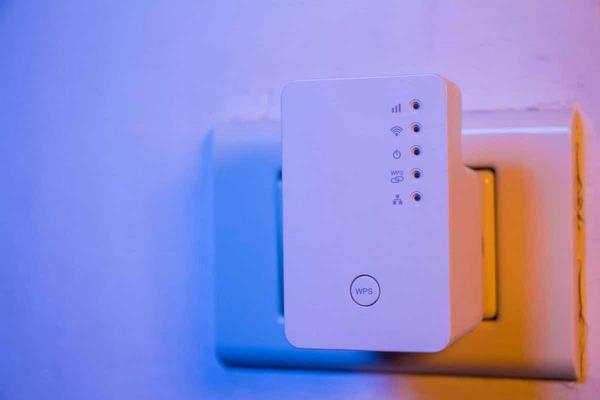
After having assured that both routers are connected correctly, we will light the second router and observe the front of the apparatus of the device.If we see that the Wi -Fi LED is flashing in yellow or similar, then we can proceed to configure the two routers.
Configure Router 1 to have Internet connection at Router 2
We arrive at the most cumbersome part of the entire assembly process: the routers configuration.If you have connected to Router 2, you will surely have made sure that we do not have an Internet connection, although we can connect to the Wi -Fi network without any problem (evidently with Router 2 Wi -Fi key).To solve this we will have to configure both the 1 and router 2 router through the router configuration panel.
Router configuration 1
Router 1 will be the first one we must configure because it is the one that provides the Internet connection to both Router 2 and other connected devices.For this we will access the router configuration by writing in the browser the 192.168.1.0 or 192.168.1.1 (In the event that no page is shown we will have to look.Then a page similar to the one we can see in the lower capture should appear.
At this point we will have to introduce the user and router password, which is usually ‘admin’ and ‘admin’ (it can vary depending on the router model).After this, a whole configuration panel full of options and parameters will see.
After finding the section in question, we will observe if the activation box is marked.If not, we will have to activate it to provide the Internet to the Router 2.
Router 2 configuration 2
We have already opened the Internet access door so that router 2 can connect to router 1.The next step to finish riding the network in question is to assign a static IP to Router 2 so that Router 1 can administer Internet correctly.
Again we will have to access the control panel to configure the IP.In this case we will have to connect to Router 2 through its Wi -Fi key (or by Ethernet cable) and put the same address as in the previous router, that is, 192.168.1.0 or 192.168.1.1 (may vary depending on the model).At this point, we must follow the same process as in Router 1 until we find the DHCP section, which we will have to deactivate to assign an IP Manual address.
When we have secured that the DHCP server option is disabled, we will have to look for another section with the IP address name to provide the desired IP address.Our recommendation is that you put address 192.168.1.1 or 192.186.1.2 (It can never be the same as that of Router 1, in the event that it is 192.168.1.0).Of course, we must make sure that it enters within the same subnet, that is to say the last two numbers separated by points (1.1 and 1.2 or 0.1 and 0.two).If not, the connection will not be established.
Finally, we can connect to the second router without any problem.In the event that it is not so, we will restart both routers so that the changes are applied correctly.
Receive our news
From Monday to Friday we send a newsletter with the headlines of the day to +4.000 Subscribers
I Will Never Give Away, Trade Or Sell Your Email Address.You can Unsubscribe at Any Time.